Happy Gifting =’s Happy Wifey

Fra la la la laaaa!

Let’s be honest, finding the perfect gift is crazy stressful- especially if you wait till the last minute.

Before you reach for that pre-boxed generic gift (I mean think about it, would you EVER buy that in June!?)- check out some gifts that I think will bring a huge smile to any Wifey’s* face.

*reminder: Wifey is not literal, it’s a term for someone you really care about

HO HO WOAH!:

Kitchen I Pad Stand – $15.99. Alex got me one of these a while back, because I was getting food in his new laptop, and let me tell you – it’s a DREAM. Following recipes has never been so easy- or clean.

Customized Apron– $21.95. Add a photo of your pet or kids or an inside joke or something they always say while in the kitchen and this is a slam dunk.

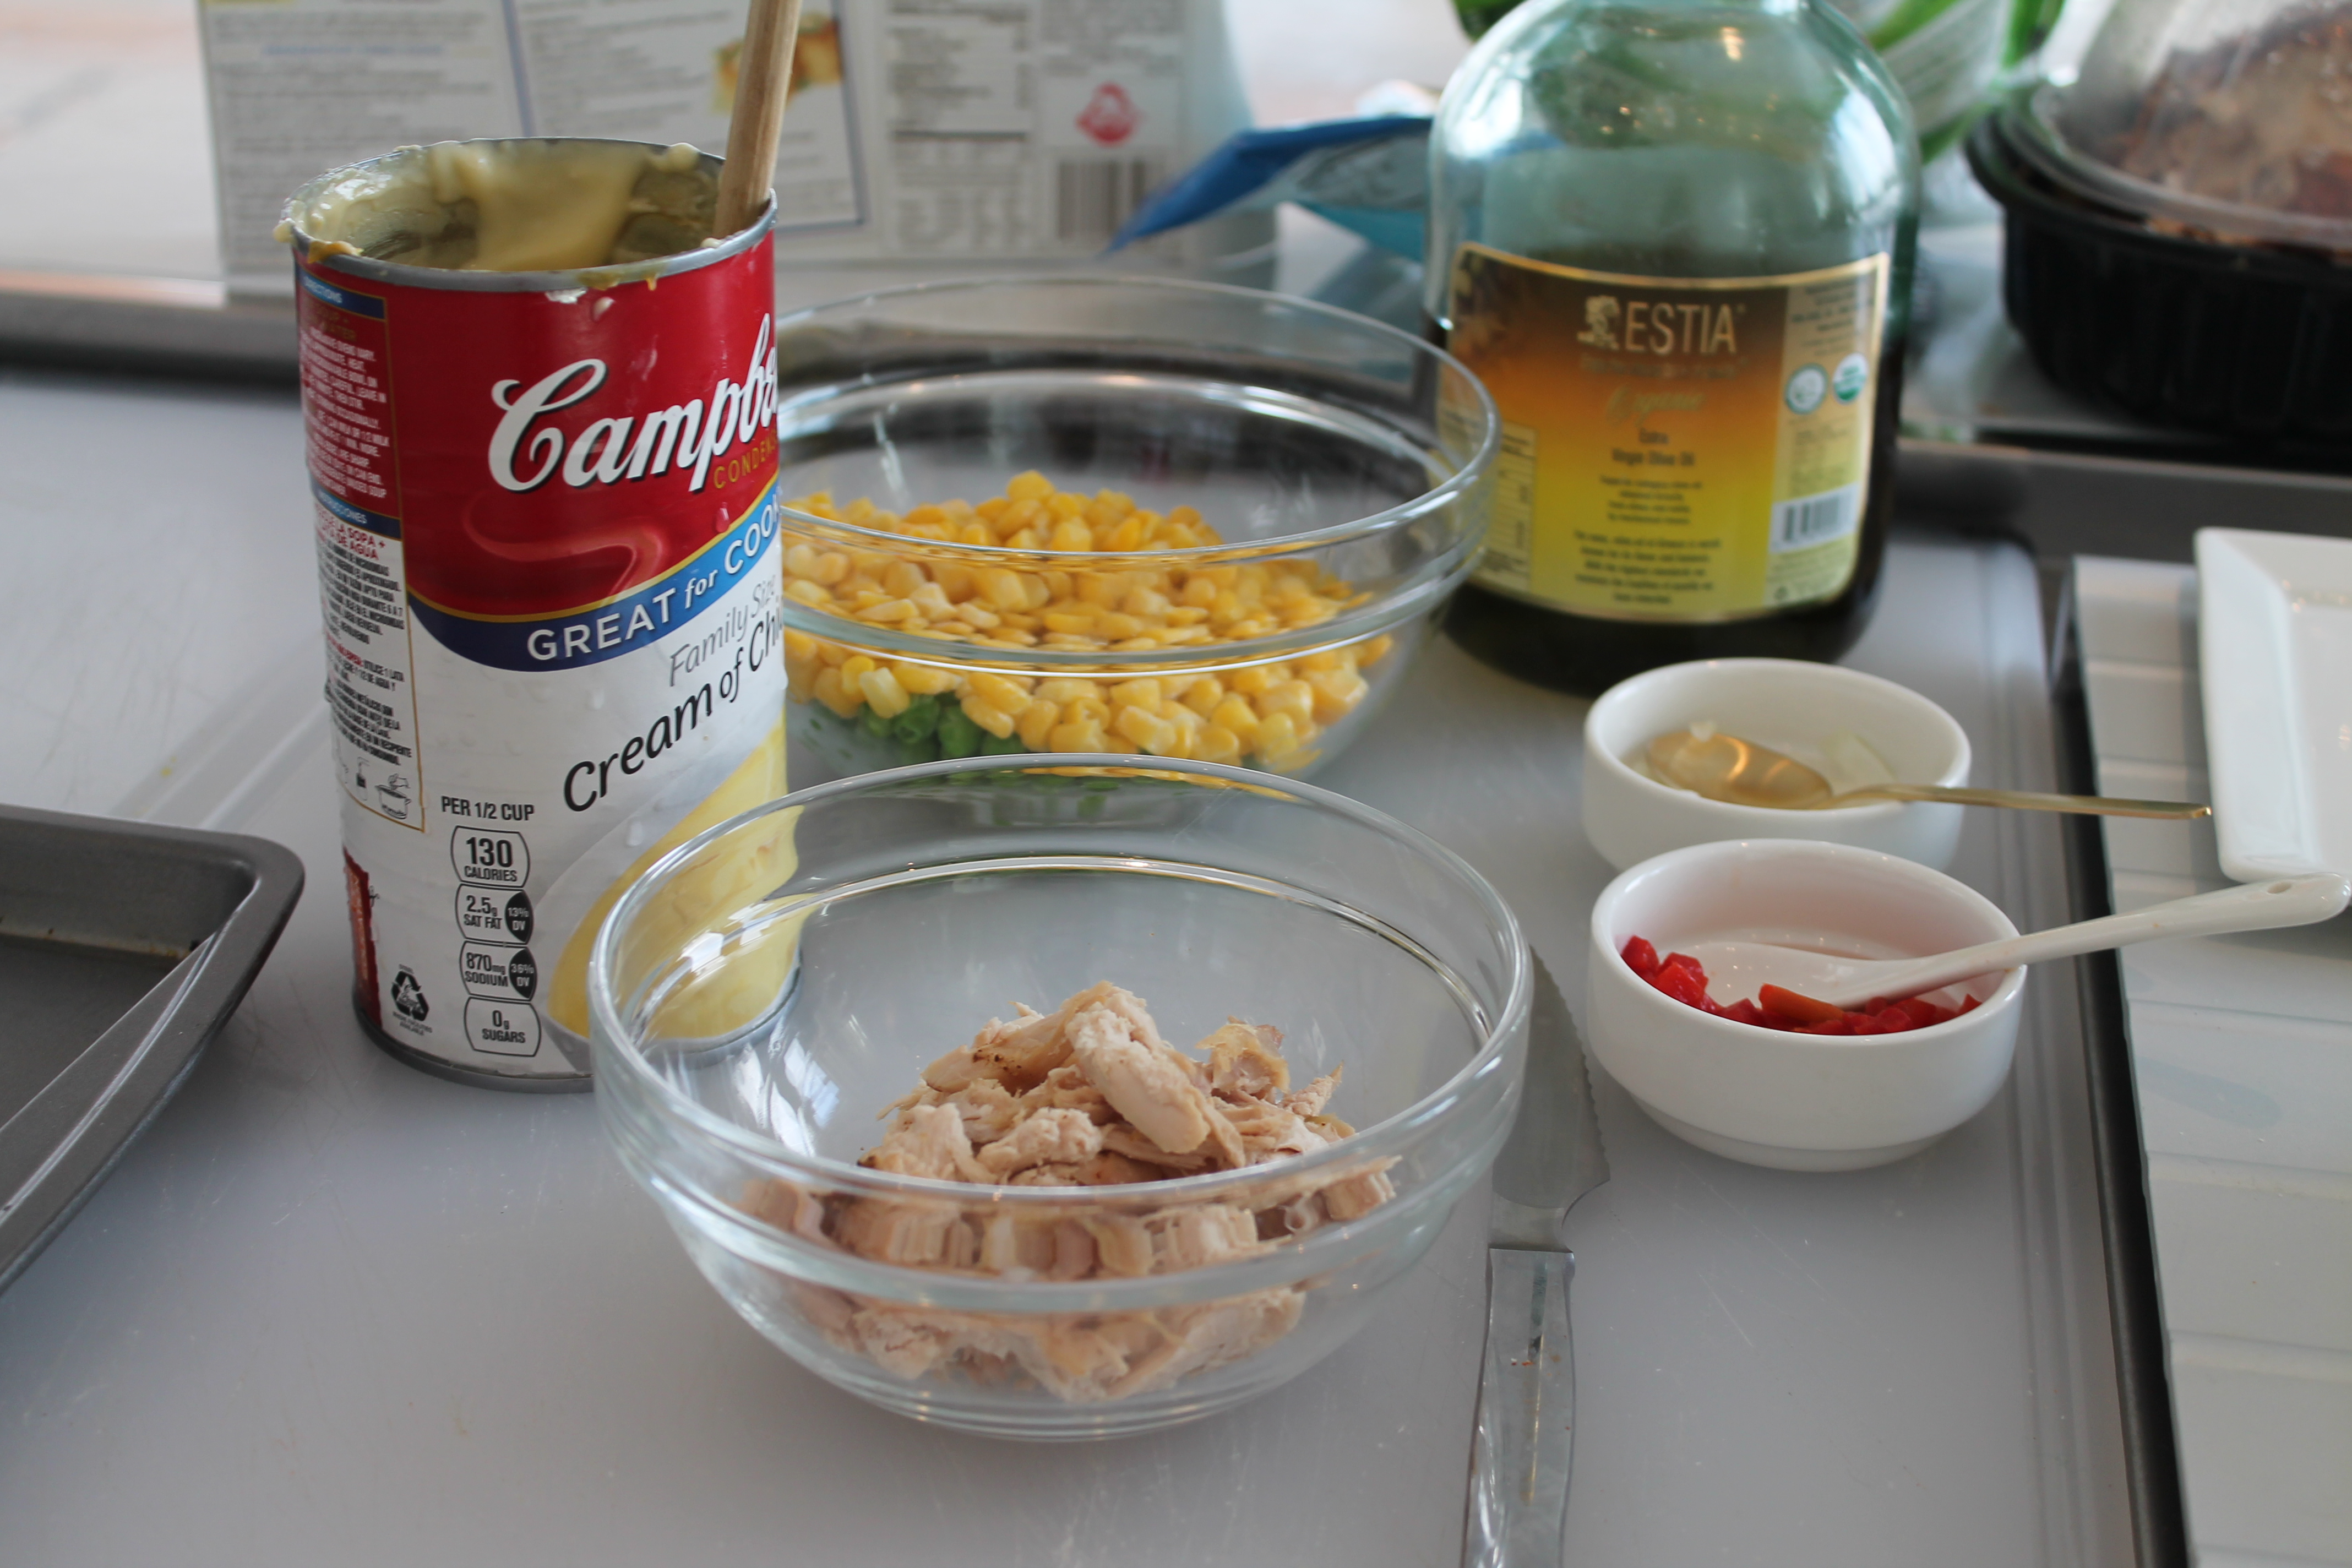
Make Your Own Baby Food Kit– $69.99. Tired of hearing about how your family should be making your own baby food? This kit is an excuse-free way to start.

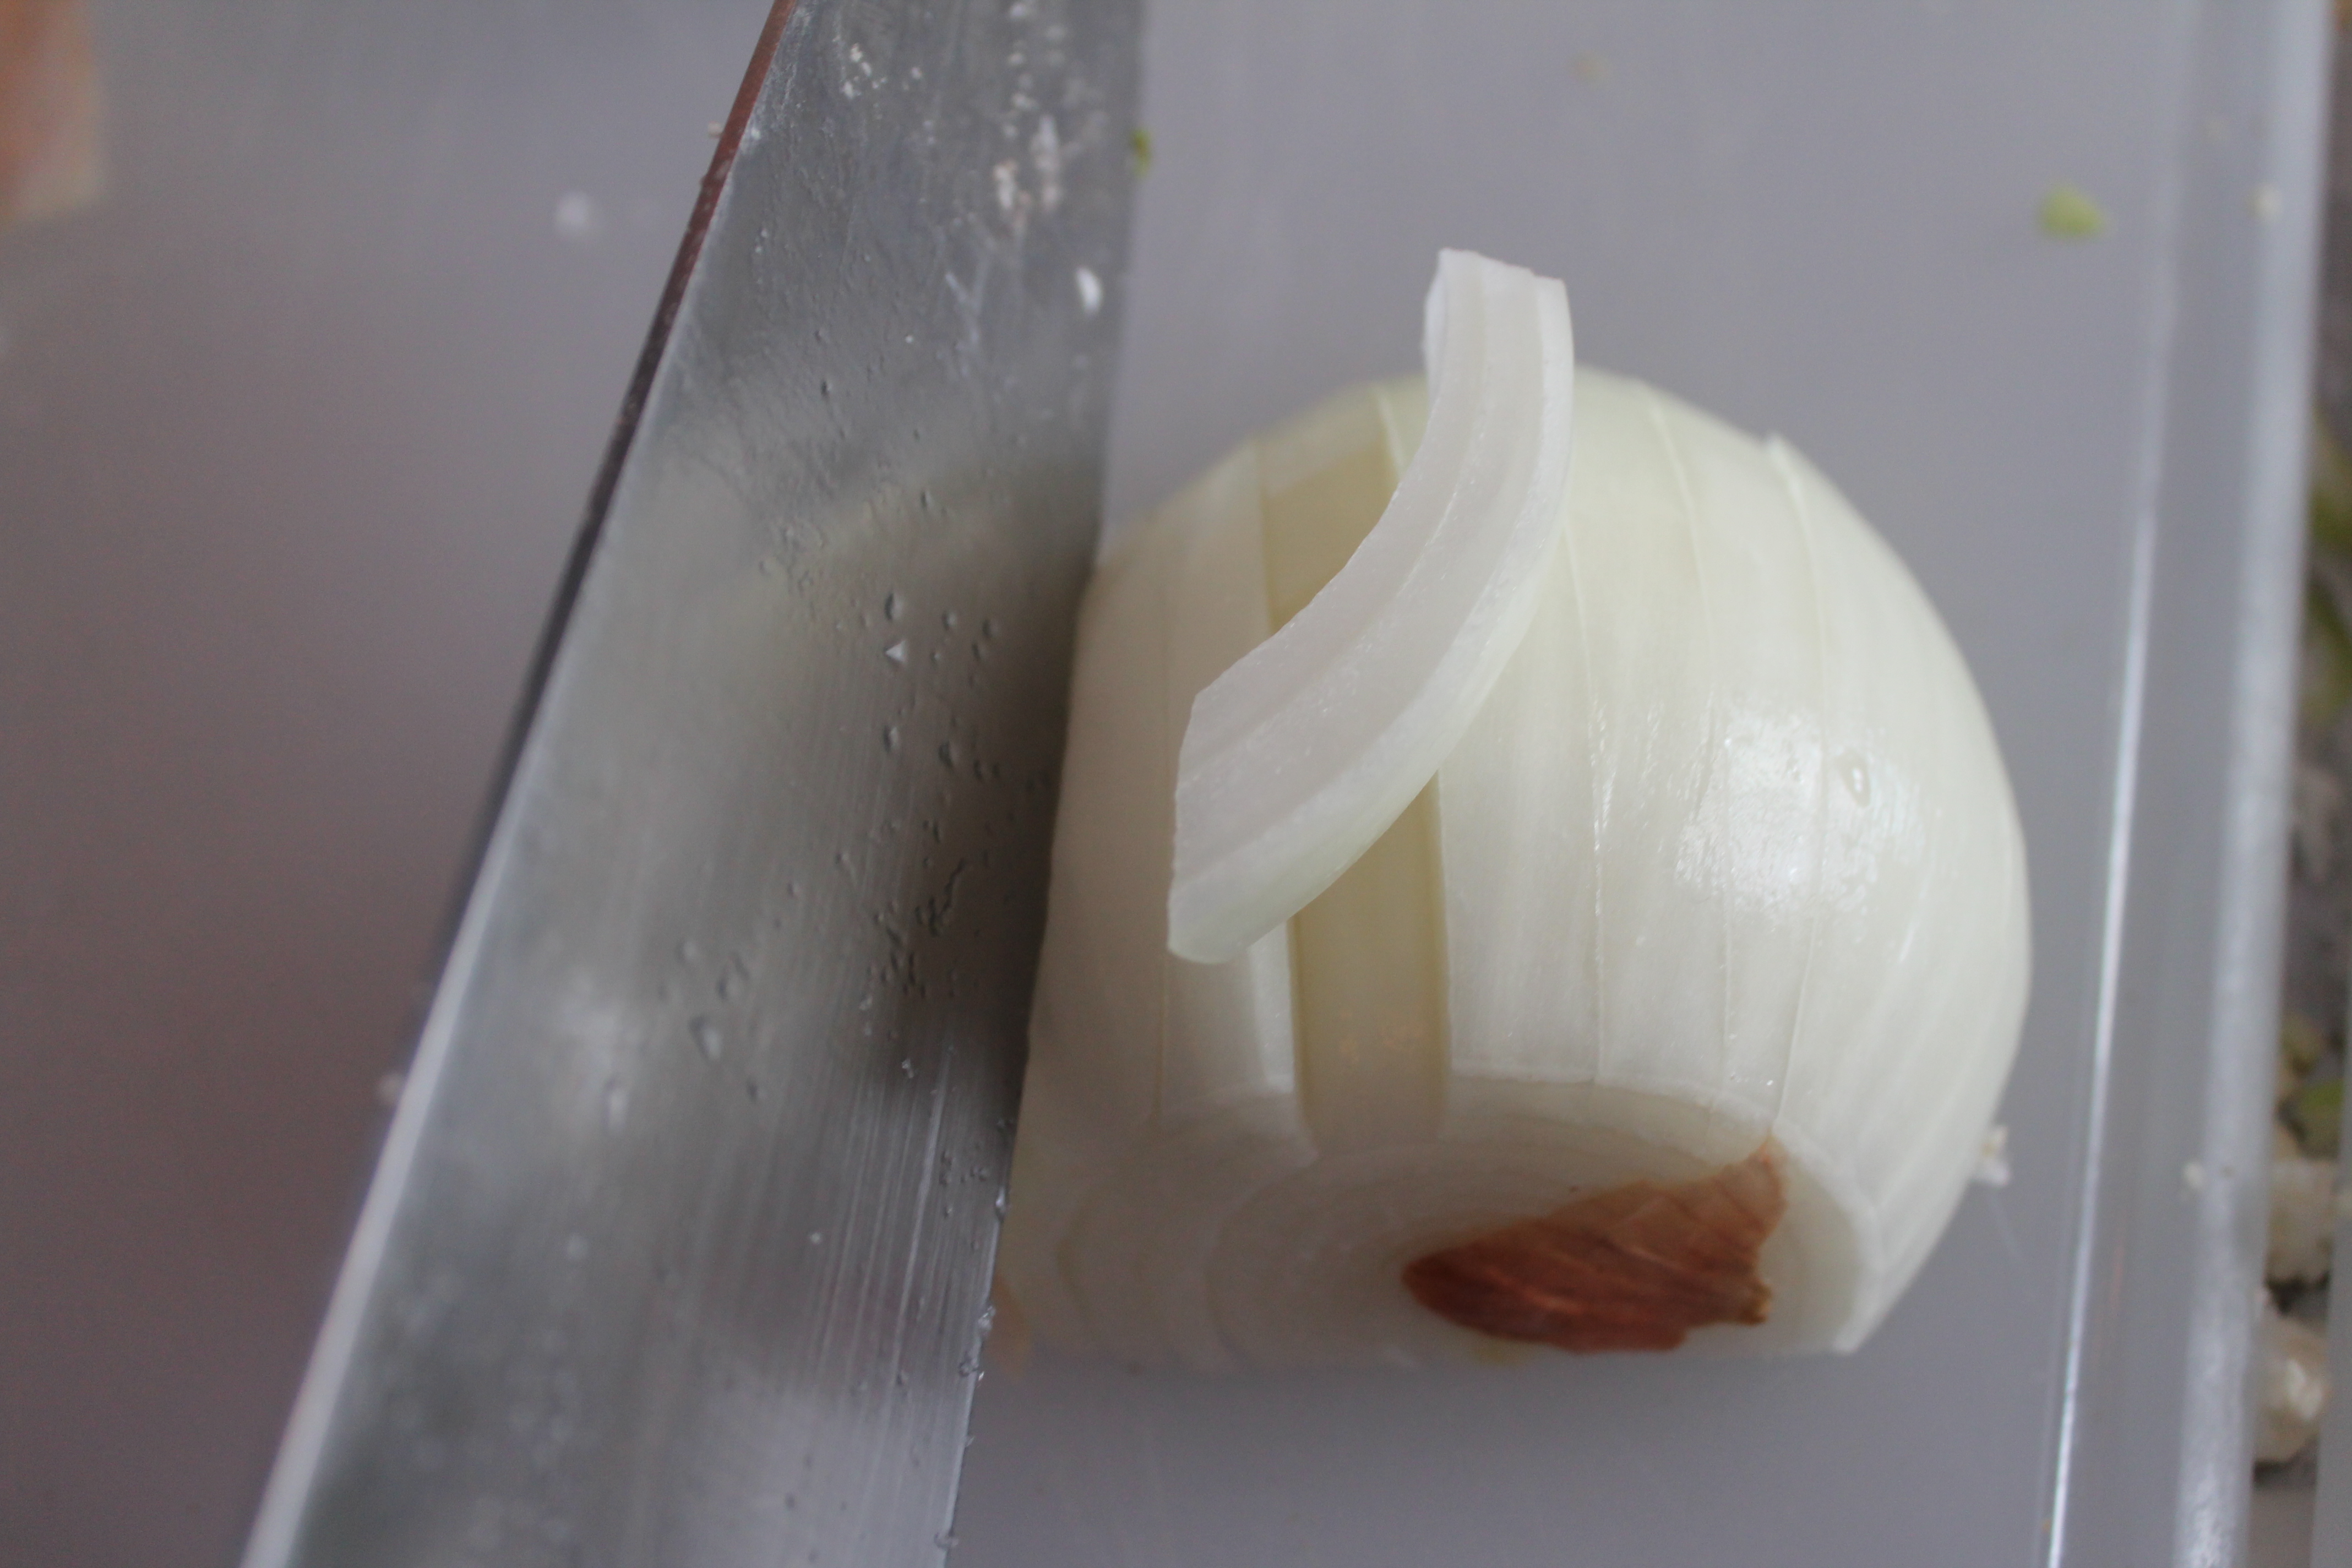
A Kick Ass Real Chefs Knife– $89.99. Every home Chef needs a real 8′ inch knife, and this one has been recommended to me several times by actual Chefs.

Sea Salt Sampler Kit– $32.00. Not only do these look pretty when set out in small salt cups, but they allow endless experimentation.

Coffee Mug Warmer– $9.99. What?! Genius! Does your honey drink their joe while getting ready in the bathroom? Have them plug this in next to their hair dryer for a warm and happy Wifey.

Jonathan Adler Salt and Pepper Shakers– $48. My guess is that if your Wifey likes to cook, they also love to entertain. Choose the set that most reflects your love.

And remember- creativity is key. When they cook is there something they always say they wish they had or needed? Just because it’s not glamourous doesn’t mean they won’t love it.

Happy Gifting!

xoxo- The Wifey

Edamame Side Piece Potato Mash

Everyone needs a good side piece right? And dinner is no exception.

Here in Chicago it’s flipping freezing and all I want to do is dive face first into a pile of mac and cheese or mashed potatoes.

BUT- I’m going somewhere that requires a bikini for my birthday in two weeks and packing on extra winter lbs right now would be no bueno.

I try to eat 80% healthy and 20% “fun”…so coming up with healthy swaps is something I’ve been doing for a while.

Don’t worry- TheWifeyKitchen isn’t a health or diet blog- but I still like to throw in some low calorie recipes here and there. Cause hey- a Wifey’s gotta keep it tight , keep it right!

But back to that comfort food craving- after dreaming of mashed potatoes for at least an hour, I forced my brain to go to a healthier place and the Edamame Side Piece Potato Mash was born.

I used to be super afraid of words like “blender” and “food processor” and avoided recipes that used them…then I tried blender recipes and realized they were 10x easier. So don’t be scurrrred.

This mash is not only super duper healthy (the two V words *vegan and vegetarian* apply) it also is the perfect swap for fat filled mashed potatoes.

It makes a kick-ass side dish for dinner and looks a little fancy pants.

Per usual it’s simple. And cheap. Muah- let’s get wife’ed up!

Edamame Side Piece Potatoes, makes about 4 servings

it's so easy being green

it’s so easy being green

WHAT YOU NEED: 

IMG_1493

  • 1 cup of shelled edamame – you can use part of a frozen bag or fresh edamame that’s been shelled
  • 1/4 cup of pinto beans
  • 2 medium to small potatoes
  • 3 tbs olive oil
  • salt and pepper

WHAT TO DO: 

  • fill two separate pots with water and heat till they boil
  • cut the potatoes in half, then quarters
quarters or whatever, just try to make them semi even

quarters or whatever, just try to make them semi even

  • put a cup of edamame in one pot and the potatoes in the other and stir them every few mins until you can stick a fork in the potatoes and they are soft and edamame is also soft
really captivating photo of s*&t boiling, I know

really captivating photo of s*&t boiling, I know

  • while those are enjoying their hot tub, layer your 1/4 cup pinto beans and  3 tbs olive oil in the blender…add salt and a dash of pepper.
  • drain the pots and continue to layer until every ingredient is in your blender
kinda looks like thanksgiving dinner in a blender, no?

kinda looks like thanksgiving dinner in a blender, no?

  • add more salt and a squeeze of lemon if you want
  • I used the puree button until things looked combined and whipped like this:

IMG_1502

  • serve immediately , I used an ice cream scoop to make it look a little cool. You could also use a plastic ziplock , cut a hole in one end and squeeze it on the plate like a real diva…I say go for it.

IMG_1507

Note- I added more salt at the end, but I really love my salt. You may not need to – OR you may want to add something else to yours…garlic? onion? Go on and get wild wifeys!

Note 2.0- My friend Lindsay requested I make a “grocery list” area so she can snap shot it on her phone, and pull it up easily at the grocery store. Your wifey wish is my command:

SHOPPING TIME!

  • BAG OF FROZEN EDAMAME- SHELLED OR FRESH SHELLED EDAMAME. FROZEN- FOUND IN FROZEN VEG SECTION, SOMETIMES IT CAN BE WITH ORGANIC FROZEN. FRESH- IN VEG ISLE- USUALLY WITH THE CUT UP AND PACKAGED PRODUCE
  • CAN OF PINTO BEANS- LOCATED IN THE ISLE WITH THE OTHER BEANS
  • 2 MEDIUM POTATOES- LOCATED IN THE VEG ISLE NEAR ONIONS AND POTATOES
  • OLIVE OIL- IN THE OIL/SPICES ISLE

Creamy Dreamy Skinny Wifey Soup

Not to be #basic- BUT OMG YOU GUYS I JUST LITERALLY MADE THE MOST AMAZING SOUP AND IT’S HEALTHY!!

Presenting….a Kale, Potato, Cauliflower soup that’s ; virtually fat-free, vegan and super healthy. Oh and its really flipping good too and beyond easy to make.

it's 21 degrees but this will make you feel COZY

it’s 21 degrees outside today but this will make you feel super duper cozy

Giddy Up!

WHAT YOU NEED: 

  • a head of cauliflower- chopped roughly, stems thrown away
  • 2 large potatoes – chopped into chunks (see photo later for reference)
  • half a yellow onion chopped
  • two bunches of kale, with the leaves pulled off stems thrown away, then the leaves are massaged in olive oil to break them down
  • 3 or so cloves of garlic minced
  • 2 tbs olive oil
  • 4 cups veggie stock
  • around 4 cups of water- or enough to cover the stuff in the pot
  • 4 stalks of celery diced
  • a lemon cut in half
  • salt and pepper to taste
  • a blender
  • a big pot

WHAT TO DO: 

  • heat the pot and dump in the 2tbs of olive oil, the onion and garlic.
this pot is about to make magic happen

this pot is about to make magic happen

*Here’s a quickie on how to chop an onion*

IMG_1470

cut the end off the onion but leave the other side in tact

IMG_1471

slice the onion in half- the long way

IMG_1472

BE CAREFUL as you place your non knife palm down on the top of the onion and use your knife to cut 3-4 sideways half moon cuts along the side of the onion

IMG_1473

now turn the onion and make cuts the other way across the top (from top to bottom), but don’t cut all the way to the very bottom so it holds together while you cut

IMG_1474

turn the onion to the side (like in step 1) and cut along the other cuts you just made- cutting right to left. This is how you dice an onion! * thanks Kendall Culinary for helping me learn!*

  •  Let the onion and garlic “sweat” or brown for 2 mins or so, then dump in the cut potatoes, cauliflower, celery, veggie stock and water.
IMG_1466

ignore the butter, I SWEAR I didn’t use it. This pic is to show you the size of the potato chunks

IMG_1467

I basically cut the celery down the stalk into pieces this size

IMG_1468

rough chopped cauliflower, potato and celery

  • Now it’s time for a massage…YES! For the kale- sorry- you need to book your own (you deserve it!). After you’ve pulled the leaf from the stem and put all the leaves in a bowl, douse them with olive oil and …well…massage them with clean hands until evenly coated and relaxed.
IMG_1475

I used two of these bad boys

IMG_1476

ooo lala see how much zexier this kale is after a good rubdown!?

  • Add the kale into the mix and stir. You can salt and pepper with every big stir.
IMG_1480

massage!?! we want a belly rub!

  • Once this pot is boiling, turn the heat to a simmer and cover with a lid.

IMG_1482

  • You’re going to have about 35 mins to do whatever you need to do; set the table, get the blender out, jump in the shower, stalk your crush on instagram- no judgement!
  • After about 35-40 mins your potatoes and cauliflower will be nice and soft- it’s time to get that blender ready.
IMG_1483

I’m an ugly ducking now, but watch me become the zexiest swan EVER in a hot second.

  • Transfer equal amounts of stuff and liquid to the blender but ONLY FILL IT 3/4 the way.
  • Squeeze the juice of one half of the lemon, add salt and pepper.
  • Now puree that stuff like the bad b#$ch you are until it looks even (takes about 30 seconds).
IMG_1486

what a transformation!

  • Now, pour that into a bowl and repeat with remaining soup.
  • Serve with bread, crackers or pizza- cause this stuff is GUILT free!!!

IMG_1487

All Week Long Lunch

This weekend I enrolled in Kendall Culinary School’s “boot camp” and I learned a ton of cool cooking stuff – BUT I got even more intel on what 20 Something’s are looking for when it comes to their daily habits.

NEWS FLASH: 20 Something’s make or break everything (notice I capitalized “something’s” cause they are everything)- so I borderline question-raped these poor three girls and dove in head first- asking questions about their dating life:

Where do singles go… what they like to look at on-line… and what they would actually watch/read when it comes to cooking?!?

According to my new bff’s* – they want recipes that will last all week- not rocket science – BUT they also want the stuff to taste good and be semi healthy…and cost efficient.

*BFF’s- I’m sure they were trying to shake the “old gurl” all day long- but that didn’t stop me trying to fit in. 

This post is dedicated to any lady or dude who’s so busy that making food seems like death- but spending $$ is even more brutal.

I challenge you to take a rotisserie chicken and make it last Mon-Wed. (cause the weekends are meant for eatin’ and weekends start on thursday/thurs night, am I wrong?!).

Monday:

Cheesy  Enchiladas (with chicken)

Tuesday:

Cheater Chicken Noodle Soup

Wednesday:

Mamma Zink’s Chicken Pot Puff Pie

Thursday:

If you still have left over chicken- make chicken salad sandos (a little mayo, dijon mustard, salt, pepper and a toasted bagel *in the toaster oven* with some cheddar cheese is beyond )- BOO YA GRANDMA.

Mamma Zink’s Chicken Pot Pastry Puffs

Last week I was trying to come up with dinner based on the random things we had in the house and all of a sudden it struck me- Puff Pastry Chicken!

Growing up I LOVED this dish and couldn’t wait to help my mom make it*.

*hid in my room and/or watched TV

But I did love to eat it and at the time it all seemed so complicated- until I called her and she gave me her confession- this is the easiest recipe ever!

It can be made with almost any frozen (or fresh) veggies you’re trying to get rid of, and you can health it up or make it like Mom did.

What You Need:

COST: around $15- and you can make this more than once or save and reheat leftovers

COST: around $15- and you can make this more than once or save and reheat leftovers

  • Pepperidge Farm Puff Pastry Shells – you can find them in the desert section of your grocer’s freezer, usually near the Cool Whip- 4 feed two
  • a rotisserie chicken from your grocer- you’ll use about a breast and a leg’s worth to feed two
  • a bag of frozen corn- 1 cup feeds two
  • a bag of frozen peas- 1 cup feeds two
  • a small jar of pimentos- use about 2 tbsp
  • about two tbsp diced white onion
  • 2tbsp olive oil
  • a can of Cream of Chicken- use fat free if you wish OR a jar of chicken gravy

What To Do:

  • pre heat your oven to 425 degrees
  • put your 2 tbsp olive oil in a pot and turn heat to medium
  • add your 2 tbsp of onion to the oil and turn to low- let “brown”- aka, stir until they are tan- NOT burnt
  • once oven is heated- place 4 puff pastry shells on a non stick cooking sheet into the oven for 12-15 mins
they look so sad, but not for long!

they look so sad, but not for long!

  • add your cream of chicken soup (about a can), either 1/2 cup of milk or 1/4 cup water, frozen peas, frozen corn and pimento to the pot with the onions and stir to combine over medium heat. *if you’re using gravy instead- skip the water or milk and pour the jar in solo*

IMG_1383

I use a spatula to stir, a spoon also works

I use a spatula to stir, a spoon also works

  • pull with a fork about a breast and leg of chicken off your chicken and pull into chunks , add to pot with the rest of the magic and stir to combine. Test a pea or piece of corn- when they are thawed and warm, it’s ready.
  • add salt and pepper to taste
  • when your shells are JUST starting to puff and turn a little brown- pull them out. Use a fork to pull out the tops and raw middle and flip them so the cap is on the bottom and pop them back in the oven for about 5 mins or until they look toasted.
  • dump your “pot pie” mix into the shells and dump a little extra on the plate for dipping, serve and accept hugs/praise the Wifey’s Mom!
YUM- the messier the better- I promise.

YUM- the messier the better- I promise.

Watch the step by step (ooo baby) here!:


Pimento Party Till Noon Cheese

IMG_1301

If you’re anything like me- then you love the holidays – BUT hosting or coming up with the perfect app to bring to parties can be super stressful, no?

Well, I don’t claim to be Giadia 2.0-  BUT – this Wifey Pimento Cheese Dip is both a party vixen and brunch bombshell all rolled into one.

Bring/Serve the dip and take your Grilled Cheese Sando to the next level by stuffing bread with the WPCD the next day. Either way- everyone wins.

AND if you care- my recipe is a healthier version…so you can indulge guilt free.

What You Need:

For The Pimento Cheese Dip-

  • 2 cups light cheddar or mixed light cheese blend
  • 4 oz light cream cheese
  • 1/4 cup Greek yogurt
  • 1/8 cup light mayo
  • 1/2 a small jar of pimentos – diced- with liquid
  • 1/4 teaspoon Worcestershire sauce
  • 1/4 teaspoon hot sauce of choice
  • salt, pepper and cayenne to taste

What To Do:

  • mix all the above together until it’s a big bowl of awesome
  • serve with: celery, corn chips, chips or crackers

The Day After:

  • warm butter in a pan
  • place two slices of bread and coat
  • take a scoop of Wifey Pimento Cheese and put it in the middle of a slice
  • cover with the other slice
  • flip back and forth until each side is browned
  • enjoy and make more

NEED MORE HELP ? CHECK OUT THE STEP BY STEP VIDEO:


Mac Daddy Mac and Cheese

There are literally a zillion ways to make mac and cheese and everyone has their own technique and recipe.

If you haven’t noticed- I like to do things that are fast and easy and this Mac Daddy doesn’t get any more basic- without losing any flavor.

Now, I  prefer to use a slow cooker or croc pot because that literally takes no effort- BUT not everyone has those appliances so today I’m sharing a ONE POT recipe. Guys, it’s so easy that it’s almost ridiculous. You will never use a box again- for reals.

I love how the greek yogurt and goat cheese give it a little kick, yet this recipe is still mild enough that your kids and picky friends will love it too.

The way I made it omits a lot of the decadent noise that can make this comfort food so fatty, so you can inhale this (almost) guilt free. HOWEVER- if you don’t care about calories- rock on and add 1/2 cup milk and 2 tbs of butter when you add the goat cheese and greek yogurt.

What You Need:

  • a box of macaroni  – penne and elbow are my favs
  • 3 laughing cow triangles- I used the swiss flavor this time
  • 2 cups of cheddar cheese, 1 cup of mozzarella
  • 4 tbs greek yogurt
  • 2 tbs goat cheese
  • a dash of: salt, pepper, garlic powder and paprika
  • a big spoon for mixing
  • a pot and a lid to strain with

What To Do: 

  • add salt to water and boil
  • add entire box to pot and stir about every min for 6 mins- you want this a tad al dente
  • drain most of the water out- leave about 1/2 cup in there for the mixing
  • add goat cheese and greek yogurt and stir immediately- till the pasta is coated (this is when you’d add the butter and milk if you’re using it)
  • add the cheddar and mozzarella and mix
  • cover with a lid and turn your burner on low heat, wait a min or so and stir again, let it sit and so on until everything is melty magic
  • dash salt, pepper, garlic powder and paprkia- then mix well . dash again with salt, pepper and paprika- DO NOT ADD MORE GARLIC SALT. I did the first time and had to do major damage control- if you do this then add more cheese and 1/2 cup of milk- stir till evenly coated
  • serve and watch them die with happiness

MAKE THE MAC DADDY LIKE THE WIFEY:


Jazz Up Your Dinner Party Setting

Everyone likes music, right?

And the great thing about music is that it transports us to moments and connects us with memories of people.

My brother Kyle turned 30 this week and hosted a dinner party at Michael Mina in SF for 35 of his closest friends and family.

I hijacked the paperless post invite months ago and sent each guest a direct message, asking them to send me a song that reminds them of Kyle. I then planned to present these menu-style on each place setting and surprise him at the dinner.

After some Google time, I found the site: MenuMustHaves and used them to create and print the menus. They were prompt, arrived on time and looked great. Plus they make it pretty simple to create any form of menu you can dream up.

Here is the finished product:

photo 1

NOW, what I didn’t plan for was Kyle to also make menus (with the meal on them) for the table, so I had the servers bring mine with the first course- which worked well if you want to do both types of menu.

Kyle also had personalized coasters for each guest with their name on them (served as place settings) and what they meant to him on the back. He said he had them done thru Etsy and let me tell you- they were an EXTREMELY thoughtful touch.

I would show you the back of Alex's coaster, but it's very personal and thoughtful

I would show you the back of Alex’s coaster, but it’s very personal and thoughtful

He also gave everyone “Birthday Mad Libs/Advice” with a bowl of pencils and a cigar box for people to leave them in when they were done.

Next time you’re throwing a dinner party or event- try these little touches that both the guest of honor and party guests are sure to remember… they may even forget what you used to look like.

Me and Kyle at ages 12 and 7??

Me and Kyle at ages 12 and 7??

Kyle's friend Alex took this at the dinner

Kyle’s friend Alex took this at the dinner

Banana Nut Pumpkin Wifey Bread

Let’s be honest- baking terrifies me. I failed math all thru school so it makes sense that I wouldn’t be into something so precise.

BUT, I opened up requests to Alex’s co workers and I got a “banana nut bread!” from the peanut gallery . I am NOT one to turn down a challenge so I immediately accepted and pretended it would be a breeze.

Since it’s pumpkin season and people go nutty over pumpkin, I decided I’d add that to the bread, since these types of breads can be very dry and I figured the pumpkin may help that issue. I searched my cooking bible (Pintrest) and came up with this base recipe for a starting place.

Apparently the flour Gods felt like blessing me cause this stuff turned out pretty darn well.

typical Wifey mess and glass of Rose

typical Wifey mess and glass of Rose

I borrowed Martha Stewart’s recipe for the frosting, and added a pumpkin twist. And it really was pretty easy to make…so now, I’m sharing it with you.

this little beggar was dying to lick the spoon

this little beggar was dying to lick the spoon

Banana Nut Pumpkin Wifey Bread

What You Need:

  • measuring devices- tsp, tbsp and 1 cup
  • three or four bowls
  • a whisk
  • a loaf pan- I use disposable so I can give them away, bought from my local grocery store
  • cooking spray
  • a can of pumpkin- NOT THE PIE FILLING- it looks the same, but just get the 100% plain pumpkin
  • 3 really ripe bananas. like brown, if you can’t find them and are in a pinch- buy what you can find and put them in a closed paper bag to help ripen them
  • 1 2/3 cups all-purpose flour
  • 1 teaspoon baking soda
  • 1/4 teaspoon ground cinnamon
  • 1/2 teaspoon salt
  • 1 teaspoon pumpkin pie spice
  • 1 cup plus 2 tablespoons sugar
  • 3 eggs
  • 2 and 1/2 tablespoons  sour cream
  • 1 teaspoon vanilla extract
  • 1/3 cup walnuts, toasted and chopped (throw them in your pre heated oven and put a pat of butter on top and let them bake for 5 mins or so)

Frosting:

  • half a small tub of cream cheese and half a small tub of pumpkin cream cheese
  • 8 tbs of butter (yes EIGHT)
  • 1 cup of powdered sugar
  • 1 teaspoon vanilla

What To Do:

  • preheat your oven to 350
  • spray your loaf pan with the cooking spray
  • make your dry bowl of: flour, salt,pumpkin pie spice and baking soda
  • in another bowl crack your eggs and sugar with a whisk until they are “fluffy” (I did for about 5 mins before my arm felt like it was going to fall off and it all worked out)
  • add bananas  to the fluffy bowl and mash ’em down
  • add pumpkin, vanilla and sour cream  to the fluffy bowl and mix until everything is one big happy batter
  • slowly (or fold) add your dry bowl and the nuts if you’re using them…mixing as you do this to evenly distribute
  • pour into your pan and bake for roughly 45 mins. You should be able to stick a fork in there to test and have it come out clean when it’s done
  • let cool,  then frost that bad boy up (or frost right away and throw in the freezer for 10 mins) and serve or stash for tomorrow’s breakfast!

What To Do For The Frosting:

  • while your cake is baking’, combine your two cream cheeses into a bowl and use a spatula to mix and soften them until they are bffs
  • throw the butter in the microwave for :15 seconds so it’s soft and then dump that in the bowl with the cream cheese as you keep stirring.
  • Martha says to “sift” the powdered sugar in, but The Wifey ain’t got time for that- so I just added it and continued to stir and it turned out perfectly
  • finally, add your vanilla and stir it all in there. at this point I was using a whisk to get the job done, and boy- did it!

DISCLAIMER:

I am not a food photog and when I take pics of food- they look weird so you will have to take my word for it when I tell you it’s a messy masterpiece

I’ll be making this soon for the YouTube Channel in case anyone needs a step by step (ooo baby) tutorial.

EZ Cheezy Wifey Enchiladas

Who doesn’t LOVE Mexican food?!? I know we do in our house, especially on chilly days or the day after a late night.

When Alex first told me how much he loved enchiladas – I’ll admit I panicked on the inside- for some reason I always thought they would require mad skill and would be complicated.

Well, maybe they do for some people- but not in this kitchen! These truly live up to their name and ooze greatness.

know what else oozes greatness? this apron!

know what else oozes greatness? this apron!

I’ll mix them up, and add chicken for him and asparagus and artichokes to mine. Really anything goes with these bad boys so feel free to experiment.

EZ Cheezy Wifey Enchiladas

What You Need:

  • a baking dish
  • a spatula
  • a can of enchilada sauce (red or green depending on which way you roll)
  • a can of refried beans (I like Amy’s or any vegetarian kind)
  • greek yogurt- plain
  • shredded Mexican blend cheese
  • a can of chopped mild peppers (in the International Isle at the grocery)
  • a package of corn or flour tortillas
  • *bonus for Cotija Cheese if your market carries it (look near the specialty cheeses)

What To Do:

  • pre heat oven to 350
  • dump a generous portion of sauce in the bottom of your dish and spread it out evenly
  • take a tortilla and spread a spoonful of beans down the middle, add cheeses and a dollop of greek yogurt
  • roll the tortilla and lay seam side down (so you can’t see the fold) and cover with more sauce and cheeses
  • repeat until your dish is full- I usually do around 4 per dish
  • sprinkle a few peppers across the top for color
  • bake for about 15-20 mins until the cheese gets melty and the tortilla starts to brown on the end
  • serve and feel the love!

Watch The Video:

Bonus: Elotes! Or “Mexican Street Corn” (for two):

  • Grill three ears of corn until they are charred in places, but not all black
  • melt 1 teaspoon of butter in the microwave :15 seconds or so
  • Combine butter with 1/4 cup mayo and brush on the ears as soon as you remove them from the grill
  • Mix 1/4 teaspoon of cayenne with a pinch of chili powder and sprinkle evenly on the corn
  • Sprinkle 1/4 cotija cheese (grated/crumbled) evenly over the corn
  • add a dash of salt and pepper
  • Squeeze with juice of half a lime
  • Either cut off the cob or serve whole and enjoy!