How to Host A Party Without Freaking Out

Let’s be honest- having people over is stressful…unless:

A: You are a total dude (like my husband) and you think a few bags of doritos and burger patties =’s party central

B: You are a gazillionaire and have party planners, caters, and servers

C: You just don’t give a snake’s rattle and you enjoy things as they come (if this is you, let’s talk…I’ll $$$ for your info on how you do it)

or…..

You have The Wifey’s Survival Advice!

I used to attend BBQ’s like a deer in headlights- stunned by my friend’s abilities to put on a culinary show and was terrified to try to follow their efforts.

Then I realized something: people like to eat. And drink. And enjoy themselves. If you serve them enough to fill them up they will be happy.

Also? People love tacos. Which is how I came up with Wifey Fiesta Night- a DIY extravaganza. And now I’m sharing the wealth*.

*pennies

You ready? Let’s Get Wife’d Up!

IMG_0422-2

What You Need/Grocery List:

  • fish/shrimps/meat/chicken of your choice (I like to get pre seasoned shrimp and fish from the counter if they have have it)
  • tortillas (I polled the ladies and flour wins every time)  – a package of flour tortillas is perfect
  • salsa/pico de gallo- it’s your choice (I’d include a mild and medium…if you serve a pico de gallo- you also get your onion serving in there)
  • gauc- make your own or buy pre made – *I like to buy pre made
  • cheese- Mexican blend cheese ideal
  • sour cream/greek yogurt
  • hot sauces of choice
  • tortilla chips! ( I like to have a low fat/organic option and an old stand by as well)
  • put out every hot sauce you own- the more the merrier
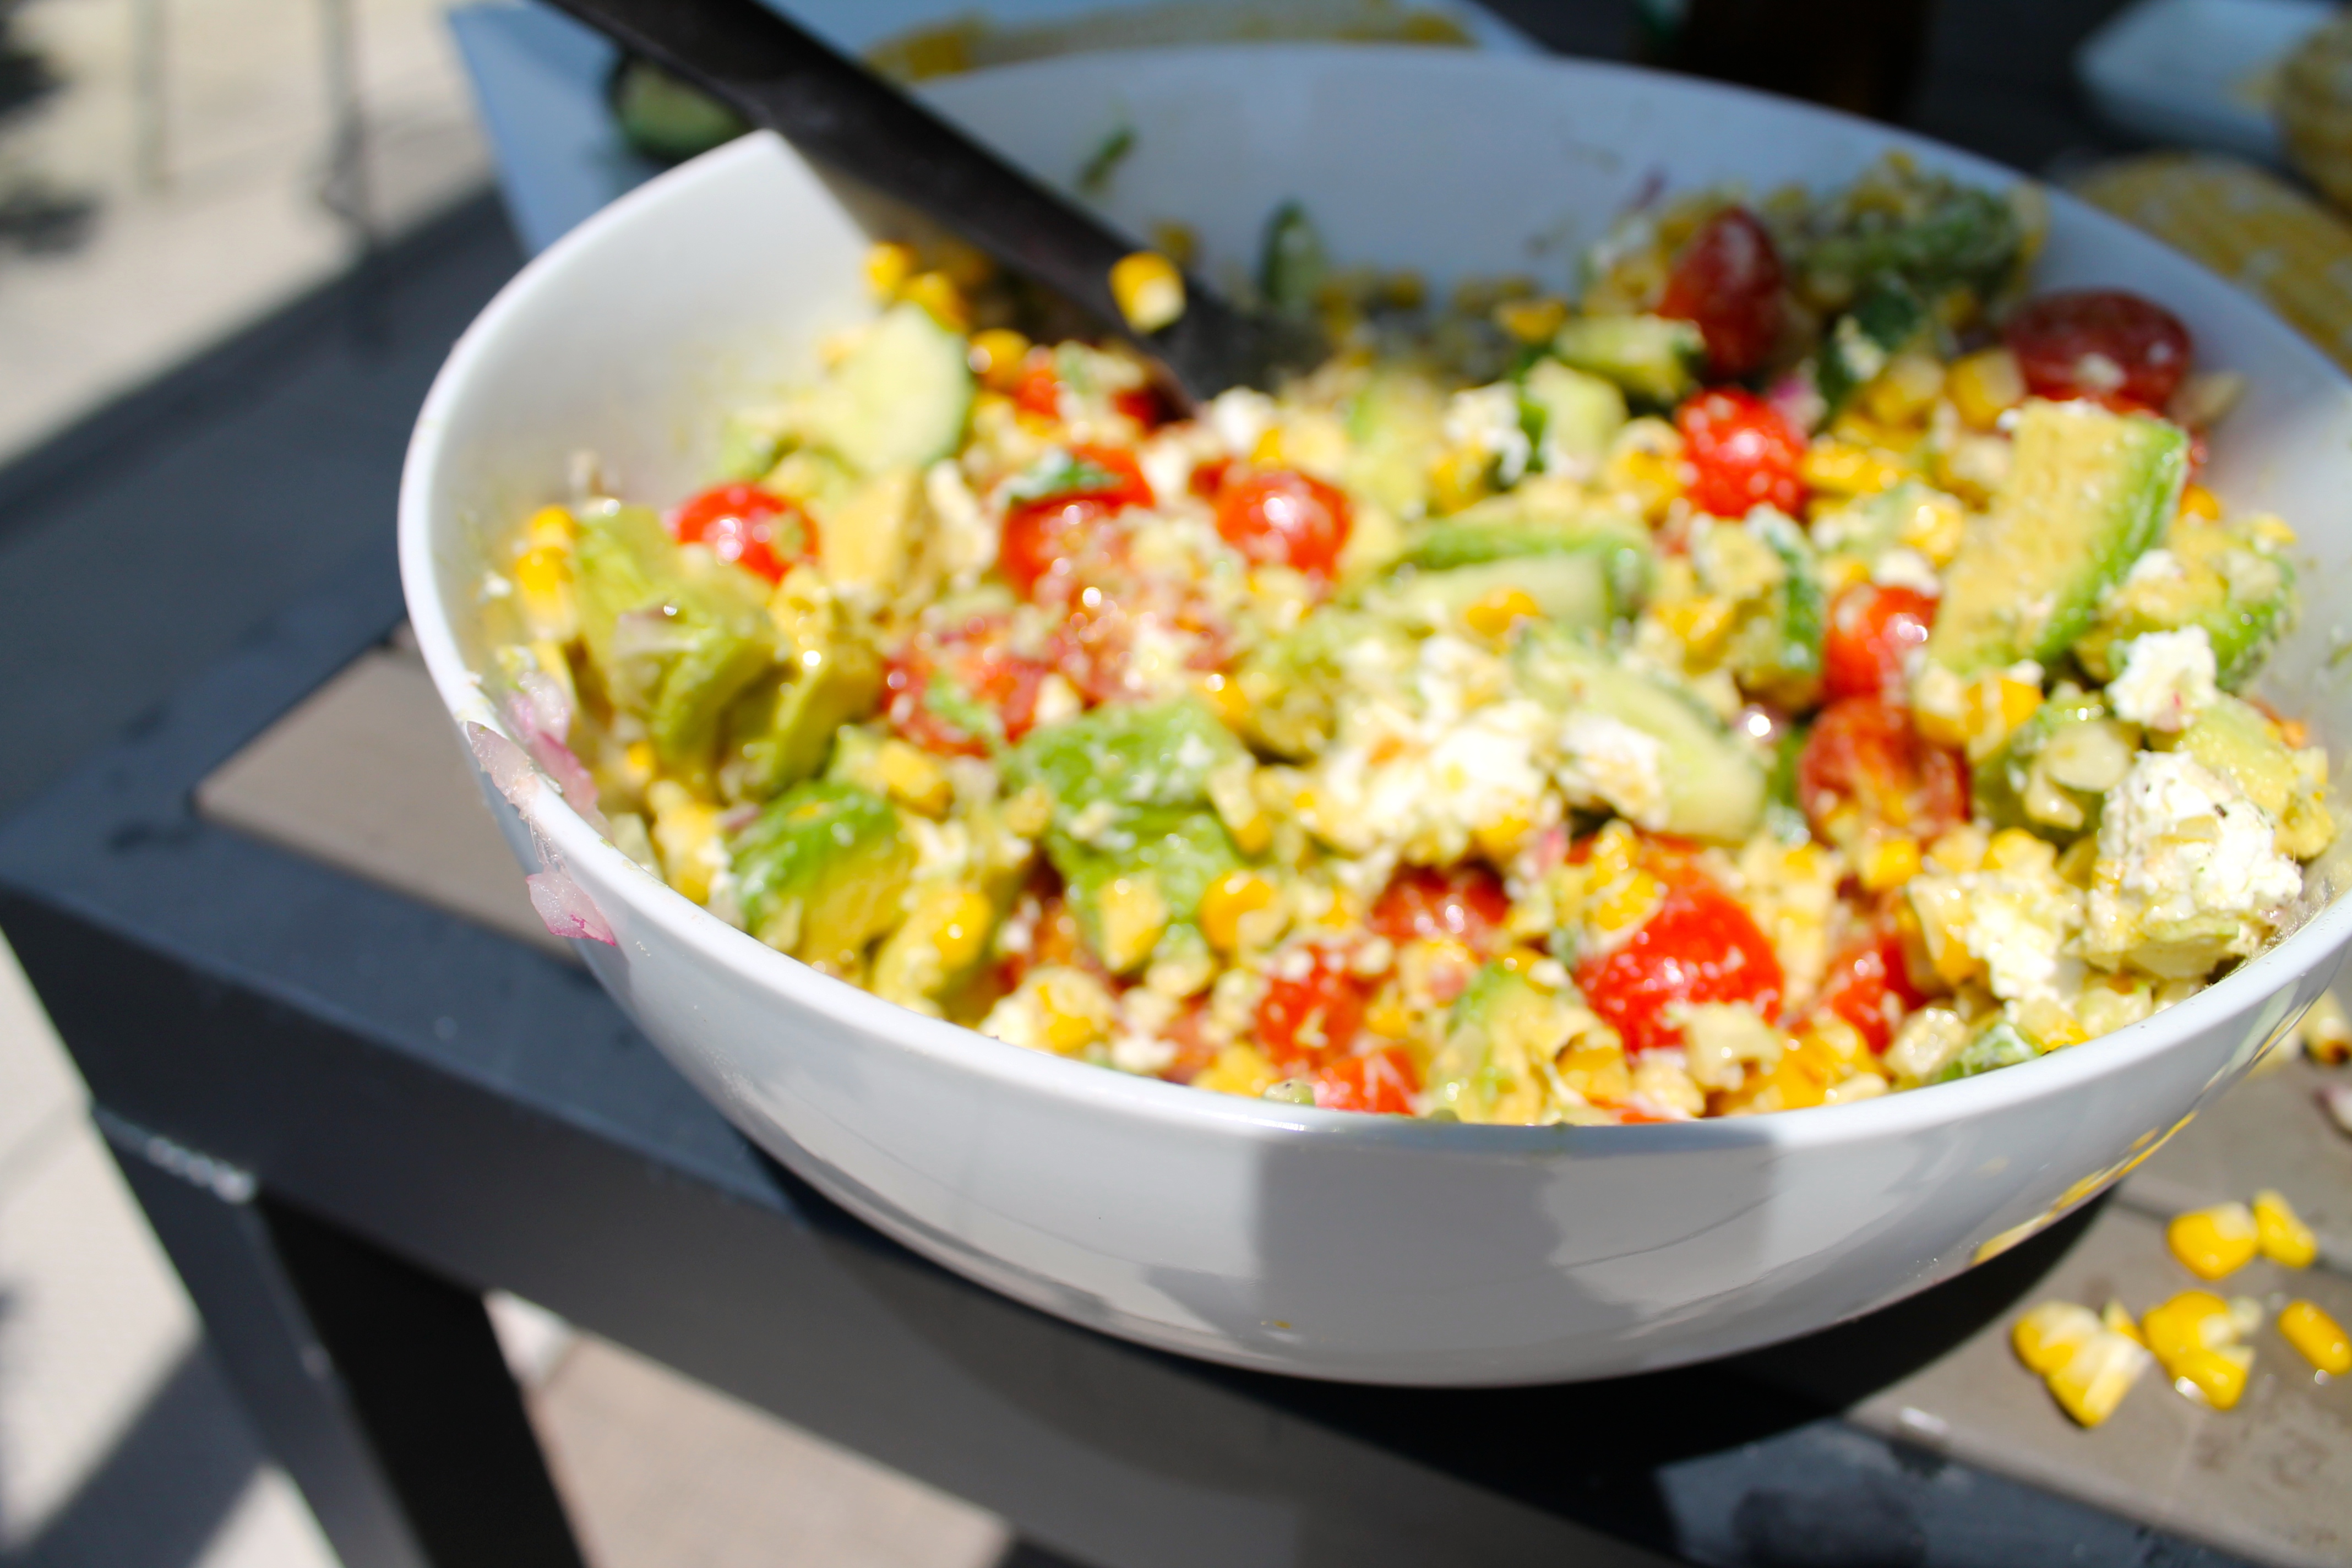
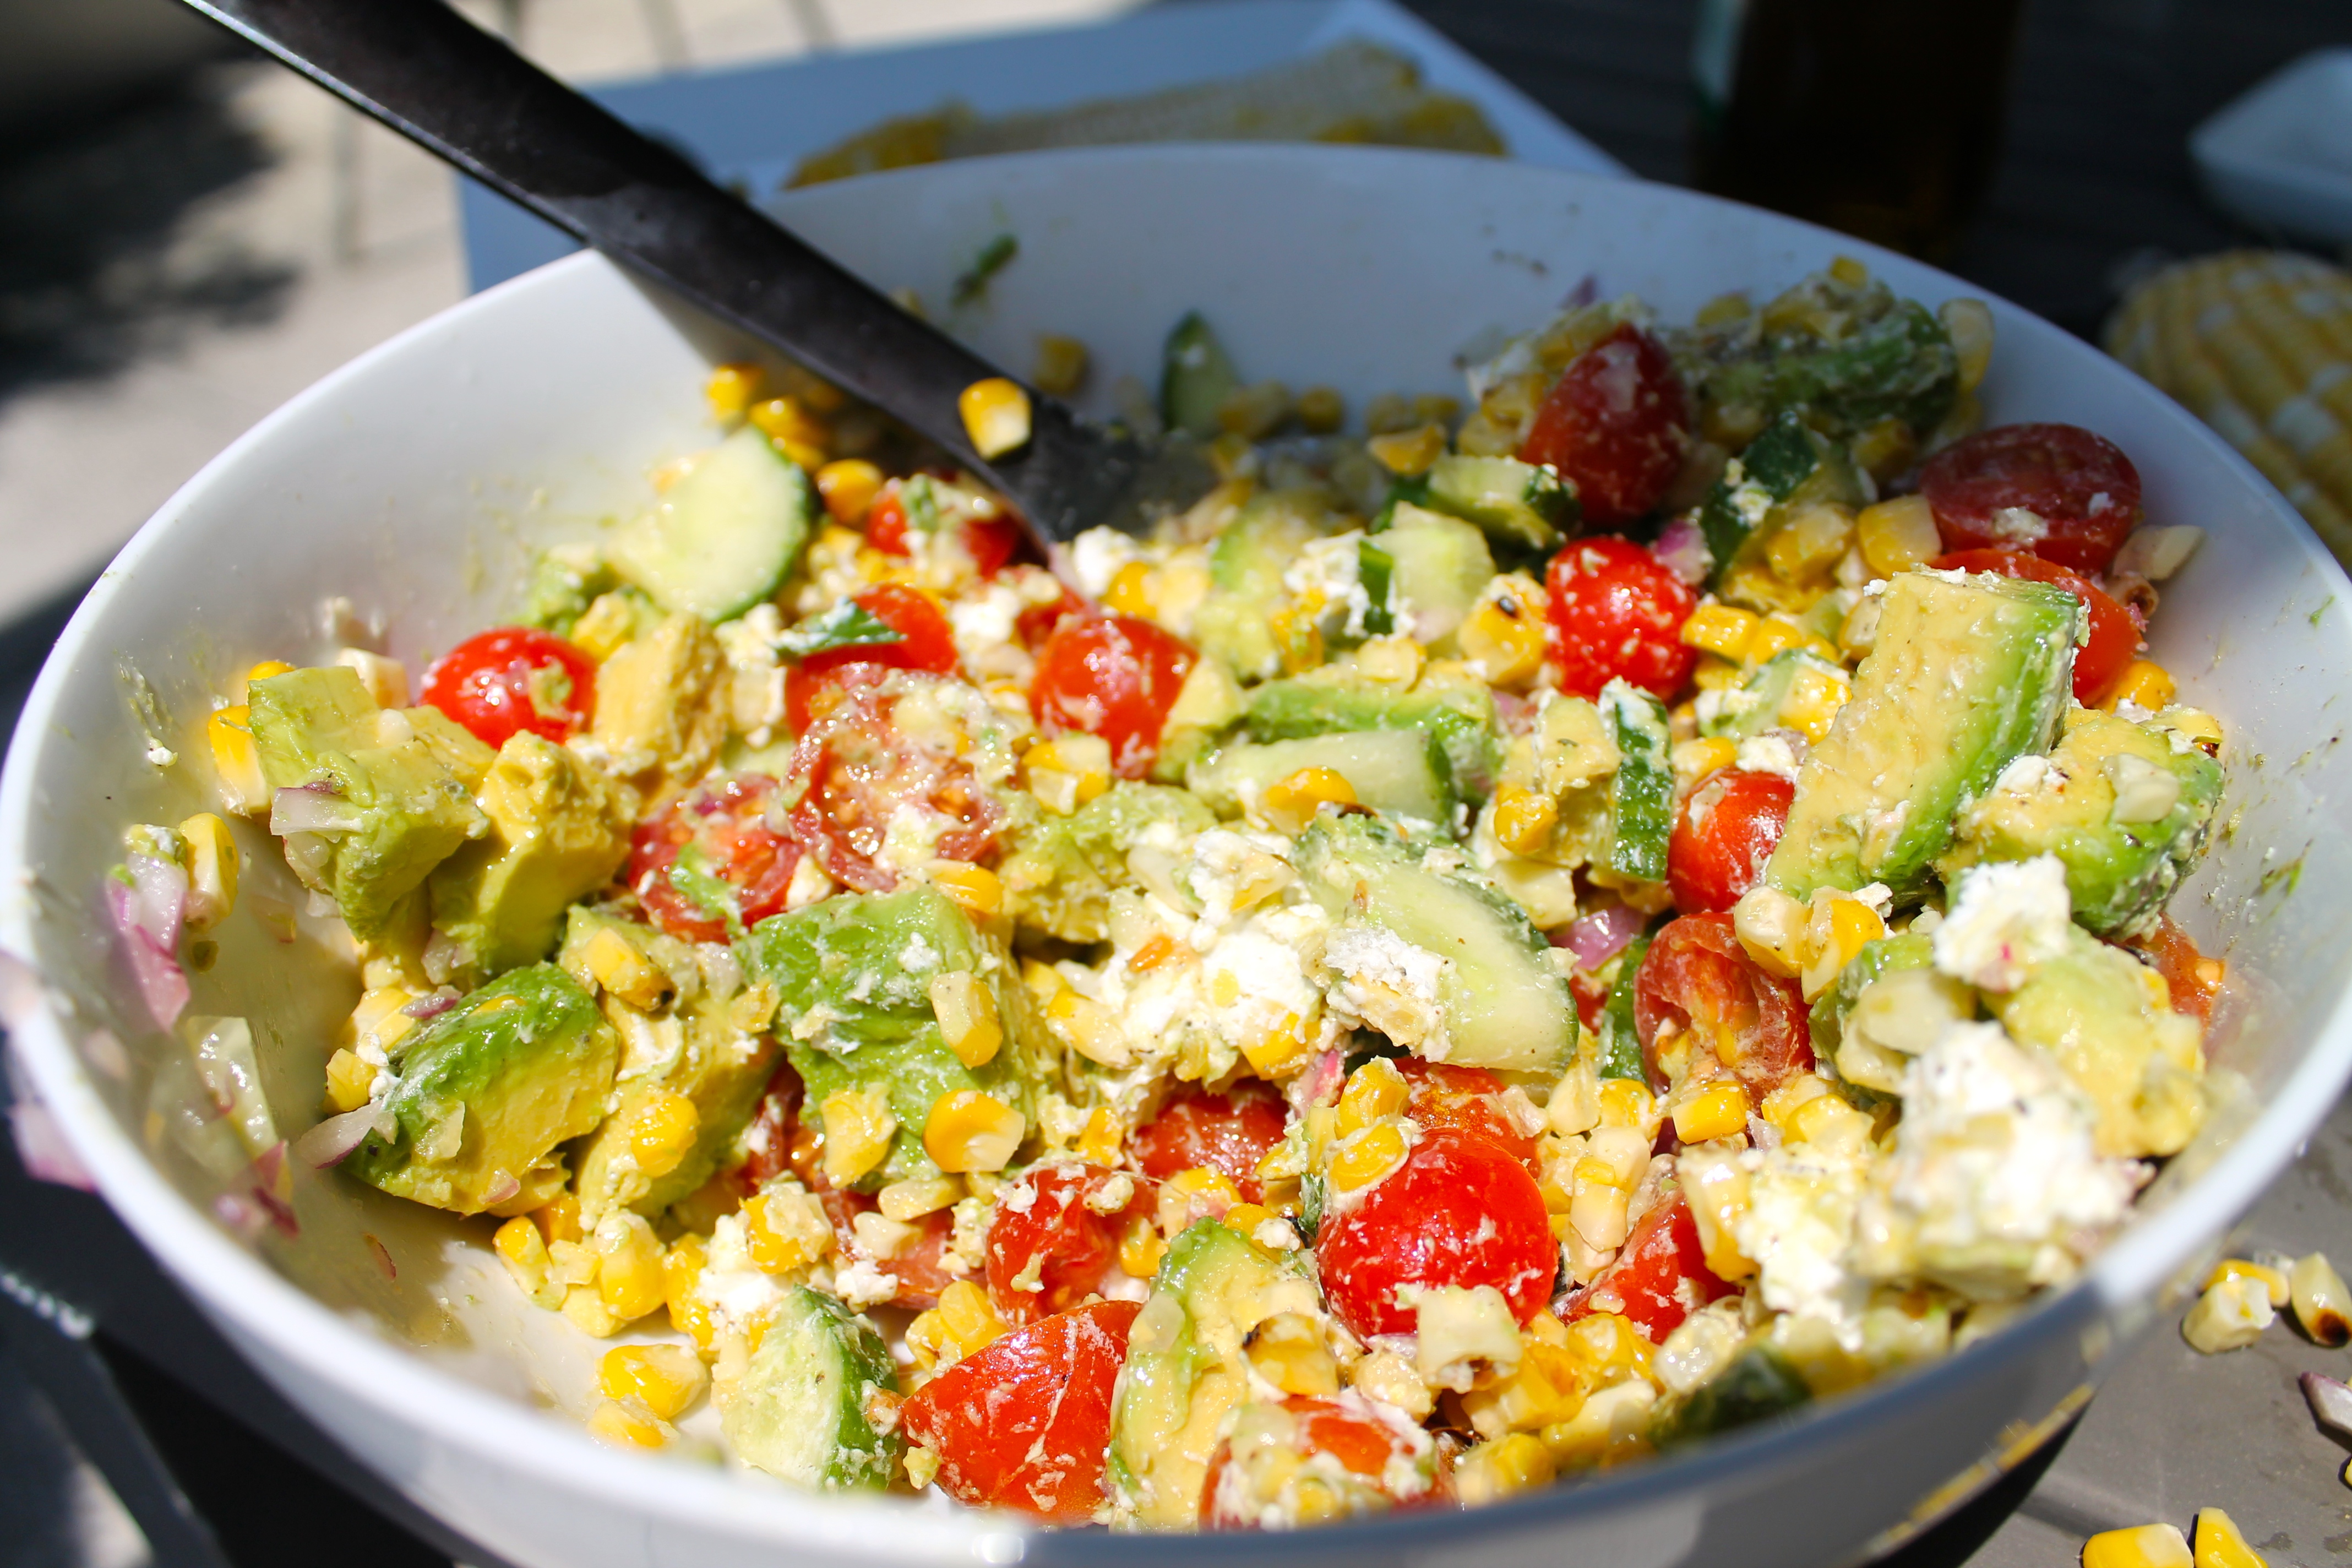
  • I like to serve a fruit salad as well, for those who don’t feel like Mexican
  • cut up a few avocados and serve those – they make everything look a little more fancy
  • a tequila drink or Coronas with cut limes

What To Do:

  • KNOW YOUR GUEST ARRIVAL TIME- For a fiesta- most things need to happen right before or as guests arrive
  • fire up your grill
  • put our your guac, hot sauce, salsas, cheese, sour cream/yogut, chips…..
  • set out  tortillas in tin foil and put to the side ( they will go on the grill for 2 mins per side at the last moment)
  • grill ears of corn for about 10 mins on medium, turning every 4 mins or so, season with salt. pepper and a little butter. Cut off ear and serve as a side.
  • microwave a bag of instant Spanish rice (90 seconds) and serve in a fancy bowl
  • Amy’s brand refried beans (or any brand really), is so simple to make- put the beans in a microwave safe dish, nuke for a min or so and stir, serve in a fancy bowl
  • cut some limes up for people to squeeze over the shrimp/fish/meat and beer
  • throw your shrimp on the grill, cook for about 2 mins per side or until shrimp isn’t pink or translucent
  • toss foil wrapped tortillas on – 2 mins per side- then serve on a plate or in a basket , covered with a napkin
  • set everything else out with some pretty plates (paper or not), silverware and napkins and FIESTA!

Why Make It When You Can Bake It

Making your own cauliflower crust pizza is extremely gratifying and totally something to brag to friends about – not that I would know, since that’s a challenge I’m just not ready to tackle yet.

THANKFULLY- I don’t have to and I still get my pizza fix.

IMG_0112

A lot of health food tastes like total crap, even to someone like me who spent years eating it and has tricked their tastebuds for the most part. But not these little pizzas from heaven, they are truly magical.

I found them at my local Plum Market, which is a bit of a specialty store, but I’m sure you can find them on-line as well.

Here’s the real kicker: each pizza has only 57 calories!! And you can eat the WHOLE BOX for 150 calories!! No one is getting full on one of these little guys, but after eating three, I was completely full.

Plus they are gluten free- so even your pickiest eaters will dive right in…well, unless they are dairy free or raw and then…you’re on your own.

Enjoy!

The Wifey’s Grilled Summertime Corn Salad

IMG_2302

It’s FINALLY warm enough to grill outside here in Chicago, so this week The Wifey Kitchen took the action upstairs to our roof deck- cause nothing says “summer” like grilling.

The first time I tried this salad, it was my friend Lindsay’s version and I swear I wanted to marry her myself. It’s so light and fresh and is the perfect side piece to any main course.

IMG_2308

Heck- you can even serve it as the main course and throw some grilled shrimp on top!

My version of this dish can be modified as you like- add and or omit. And per usual, I don’t get super anal with my measuring … I just use common sense and throw in ingredients as I go. And yes, I made things even easier for myself and hit up the salad bar for cucumber and red onion.

Ready? Let’s get Wife’d Up- in the sun!

The Wifey’s Summertime Grilled Corn Salad

What You Need/Grocery List:

IMG_2299

  • about 6 ears of corn- pre shucked or DIY
  • a package of goat cheese
  • a package of grape or cherry tomatoes- cut in half
  • half a cucumber- sliced into rounds and then cut into fourths
  • a pat of butter
  • an avocado- cut into chunks
  • a small bit of fresh cilantro or about 1/2 tsp of dried cilantro
  • 1/4 cup of red onion- finely diced
  • a small lime, cut in half
  • a drizzle of olive oil
  • salt and pepper

What To Do:

  • pre heat your grill to medium/low heat
  • butter each ear of corn, sprinkle with salt and pepper
  • throw corn on the grill, and turn every 5 mins or so until the corn has deepened in golden color and is charred in some spots

IMG_2306

  • cut your tomatoes in halves, cucumber into fourths, avocado into chunks (hit the video for tutorial), dice your onion, and your cilantro.
  • remove corn from grill, BE CAREFUL when you cut corn off the ear
  • dump corn, tomatoes, cucumbers, avocado, onion, cliantro and squeeze the juice from half a lime onto the mix,  give it a few good stirs,add a healthy amount of goat cheese, sprinkle with salt and pepper.
  • drizzle olive oil, stir until desired amount “glosses” the salad.
  • serve and get ready to share the recipe!

IMG_2309

WATCH THE STEP BY STEP VIDEO HERE:

Wifey Bars

My name is Kelli Zink Levy…and I’m addicted…to Lara Bars.

It’s true, I’m obsessed with nearly every flavor (minus the minty one) and how well these little healthy bars travel along in my purse or pocket.

Just last week I whipped one out at Soho House while having drinks with friends including Marshall Faulk & Cam from Modern Family- but that’s a story for another time.

In true Wifey form, I read the simple list of Lara Bar ingredients and decided I could make my own version. My first few attempts landed me with the Zexy Mamma Bars, but now with a few tweaks, I’ve come up with my most genius version yet.

IMG_2237

Oh, and BTW- these are NO BAKE! That’s right, all you do is blend ’em and they are good to go.

Ready to try ’em? Let’s get Wife’d Up!

Wifey Bars

What You Need/Grocery List: 

IMG_2233

  • dried pitted dates- if you can only find them with the pits in – that’s fine- you’ll just have to remove them. You’ll need about  cup
  • 1/2 cup dried oats
  • 1/3 cup walnuts
  • 1/3 cup almonds
  • 1/3 cup honey- I use Manuka honey for the added health benefits
  • 1/2 cup raw almond butter (you can also use peanut, cashew, etc)
  • a blender (or not and they will be chunkier)
  • mini foil baking pans or non stick plastic muffin sheets
  • plastic wrap or zip lock baggies

What To Do: 

  • dump the dates, oats, almonds and walnuts into your blender
  • put your honey and almond butter into a small bowl and microwave until both are soft. start with about 20 seconds, stir and continue- but make sure the ingredients don’t burn
  • transfer the hot mix to the blender
  • mix and stir, stir and blend until it all looks the same. if you like yours chunkier, that’s cool too- I prefer to blend mine a bit
  • lay a sheet of plastic wrap down and lay a layer of the mix, spreading evenly and covering with plastic again. Watch the video for the demo of the ziplock baggies too. Or simply dump even spoonfuls into the muffin tins – no plastic needed
  • pop into the freezer for 20 mins and “set”
  • if using the pan, cut into bars…eat and enjoy!

IMG_2239

I love giving these away as little gifts. I’ve given them to; book club girls, friends who are always on the go, and for thank you gifts.

Feel free to add your twist on them and throw in whatever ingredients YOU and your people love!

WATCH AND LEARN HOW TO MAKE EM :

Bikini Poppers- Wifey Style

Remember years ago when the South Beach Diet was all the rage and those egg bakes were super popular??

Well, the Wifey is bringing ’em back- thanks to a reminder from my Brother in law Andy (yes Andy AGAIN- what can I say- he’s an eggcellent cook) (hee hee)

IMG_2175

The beauty of these little poppers is that you can realize personalize them. For example:

Andy uses eggs , mine call for egg substitute. Andy adds peppers and other veggies, mine simply call for cheese.

You can add meat, various veggies- whatever you want. I’m keeping it basic and I’ll let you build if you like.

And while we’re using this baking method, I’m also going to show you how to make my version of the “egg” in the egg mcmuffin- Mc’D’s style.

The best part about both of these is that they are low carb and you can freeze and reheat for breakfast all week long. AND these are the perfect pool/beach party snacks to throw into the cooler…they energize without weighing down your bikini style.

Ready? Let’s get Wife’ed Up!

What You Need/Grocery List :

IMG_2179

  • a carton of egg substitute and or eggs
  • a container of crumbled goat cheese
  • a bag of Mexican blend cheese
  • PAM spray or butter
  • salt and pepper
  • a muffin baking tin- I use the disposable kind
  • something to pop the eggs out with- I think above is a frosting spreader… real technical , I know.

What To Do: 

  • pre heat your oven to 350
  • spray the muffin pan with PAM or grease with butter
  • pour equal amounts of egg mix into each muffin area- NOT all the way to the top – it will expand when it bakes
  • sprinkle goat cheese equally into each area, it will sink and mix
  • sprinkle Mexican blend on top
  • IF USING EGG- crack open and pour entire egg, unmixed into area
see how fluffy!?

see how fluffy!?

  • salt and pepper
  • bake around 20 mins
IMG_2177

Ronald called- he wants the Wifey’s recipe!

  • serve with toast, english muffins, salsa/guac/sour cream or simply eat on it’s own and ENJOY!

IMG_2171

STEP BY STEP VIDEO COMING SOON

Slam Dunk Spinach Artichoke Dip

Considering the fact that 40 million Americans fill out NCAA brackets- I’m assuming at least a few of you will watch the games and attend a viewing party or host friends…am I right?

That got me thinking about a recipe that travels well, and is at least SEMI healthy….and this dip is the answer.

I made it for my family over the Christmas holiday as an appetizer and even my brother was a fan, so I tweaked it some more and if I may say- it’s delicious.

Plus, it’s green…just like my team THE MICHIGAN STATE SPARTANS!

Slam Dunk Kale Artichoke Dip

IMG_2124

What You Need/Grocery List:

  • either a can of quartered artichoke heats or a healthy serving of artichokes from the salad bar.
  • a bag of spinach and/or a container full of spinach from the salad bar.
  • a bunch of kale- I get mine pre chopped from Whole Foods salad bar. You can also buy your own and chop it
  • a small container of Greek Yogurt- PLAIN. I like to use the 2% fat version
  • 1/2 cup of light mayo
  • 1/2 cup of shredded parmesan cheese
  • 1/2 cup of shredded mozzarella cheese
  • a head of garlic
  • 2 tsp olive oil
  • salt and pepper
  • either a fresh round load of bread or crackers/bread for dipping
  • a blender or food processor
  • a round or square baking dish- oven safe

IMG_2085

What To Do:

  • pre heat your oven to 350 degrees, cut off top of garlic and place cut side up , wrapped in tin foil and drizzled with olive oil in the oven for about 30 mins. When the garlic is soft enough to squeeze- it’s done.

IMG_2074

and after

  • sautee 2 tsp olive oil , kale and spinach for about 5 mins or until everything is “wilted”.

IMG_2086

  • dump the mixture into a blender, add the artichoke and garlic and pulse until blended

IMG_2103

  • return this mix to a bowl and add your cheeses, yogurt and mayo- and a dash of salt and pepper as needed- stir until it’s all one happy family

IMG_2106

  • layer into your baking dish, sprinkle some extra cheese on top
  • bake – un covered- for around 25 mins or until the top begins to get golden brown

IMG_2124 IMG_2125

  • (IF USING ROUND LOAF) cut off top, scoop out middle and break or cut into pieces. Pour dip into bowl and serve with pieces for dipping.
  • Otherwise- serve with tortilla chips, or crackers and track that bracket without starving!

* STEP BY STEP VIDEO COMING SOON*